Are you frustrated by the scratches on your kids’ favorite DVD? How about that bowling trophy that used to hold a place of honor on your mantel but has now lost its shine? Learn how to polish plastic and restore acrylic products.
Faded or scratched mementos don’t have to be thrown out, littering up landfills. Instead, easy-to-use polish kits such as the three-step system from NOVUS Plastic Polish can restore and repair faded plastic and clean acrylic surfaces until they look like new again.
Follow these three tips to learn how to restore faded plastic and polish acrylic surfaces to bring your old trophies, CDs/DVDs, antiques, display signs, and more, back to life.
Tip 1: Prep and Clean for Polishing
First, assess if your plastic is eligible for polishing. Some plastics are coated with a thin film that may be damaged by abrasive chemicals in the polish. NOVUS 2: Fine Scratch Repair and NOVUS 3: Heavy Scratch Repair polishes are not recommended for use on coated plastics or eyeglass lenses.
Before attempting to clean or remove scratches, always make sure the plastic is cool to the touch. Use a liberal amount of plastic cleaner (NOVUS 1: Clean and Shine) to safely remove surface dust and dirt. In addition, test scratch removers in a small or inconspicuous area for compatibility.
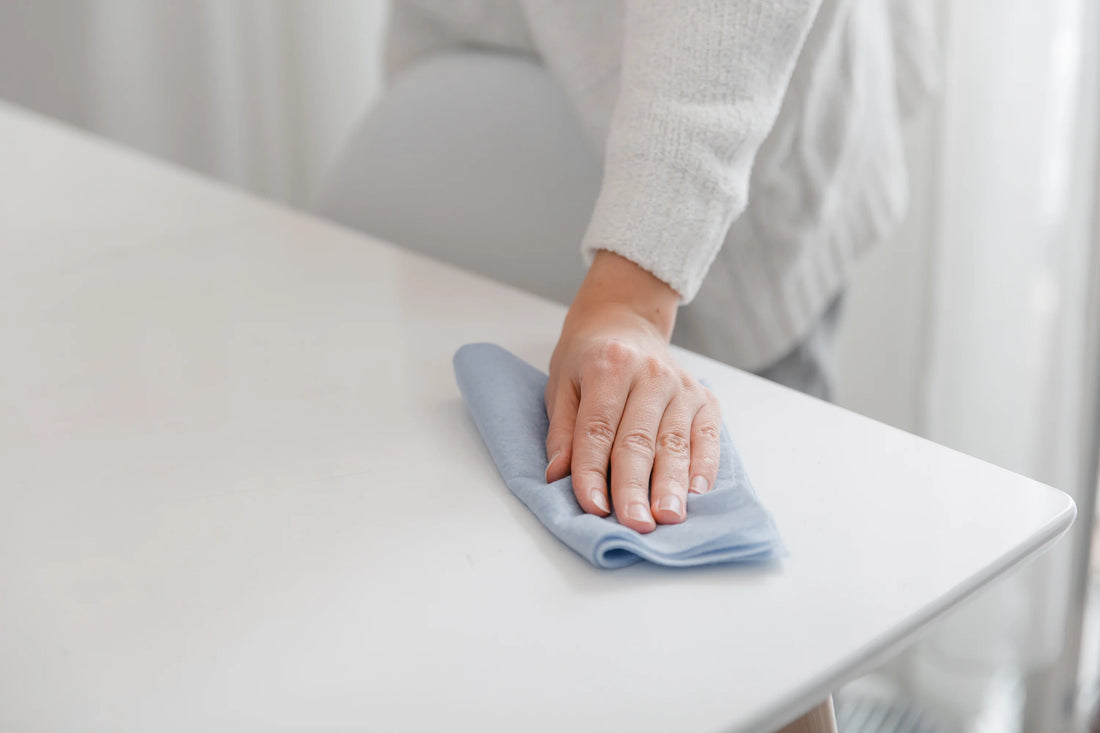
The type of polishing cloth you use will make a difference. The ideal cloth is nonabrasive, absorbent and lint free. To eliminate any chance of scratching, use only disposable cloths. Reusable cloths can retain abrasive particles, but you won't know for sure until the damage is done. Use a soft cotton cloth and avoid using polyester or rayon wipes which can scratch unprotected plastics.
Tip 2: Restore & Refinish
After ensuring your item is clean, apply NOVUS 2: Fine Scratch Repair liberally. Using a clean, soft cloth, polish with a firm back-and-forth motion at right angles to the scratches. Keep the cloth saturated with polish at all times; more pressure may be required on deeper scratches.
When the worst scratches have been polished out, reapply NOVUS 2: Fine Scratch Repair uniformly in a circular motion to the entire surfaces using short, circular strokes and light pressure. Allow it to dry to a light haze.
Finally, take a clean section of the cloth to buff the surface to a slippery glaze using firm, short strokes. This procedure is vital for achieving the best results.
For heavy scratches, multiple applications of NOVUS 2: Fine Scratch Repair or an application of NOVUS 3: Heavy Scratch Repair may be required.
Tip 3: Repair & Prepare
For acrylic items with heavy scratches, apply NOVUS 3: Heavy Scratch Repair liberally. Using a clean, soft cloth, polish with a firm back-and-forth motion at right angles to the scratches. Keep the cloth saturated with polish at all times and continue polishing until only fine scratches remain.
Before the next step, it’s important to use the soiled cloth to remove all remaining polish.
Then, select a clean cloth and apply NOVUS 2: Fine Scratch Repair in a circular motion uniformly to the entire surface. Polish using light pressure until it’s dried to a light haze, and then buff the surface clean using a new soft cloth.
If the damaged area is fairly large or badly damaged, a power buffer may be used with NOVUS 2: Fine Scratch Repair and NOVUS 3: Heavy Scratch Repair. Use a clean cotton bonnet and operate the buffer at a low speed to avoid overheating the plastic, approximately 1,000 RPM.
Each polish should be applied with a separate, clean bonnet. For best results, follow with NOVUS 1: Clean & Shine.
With these three easy tips and the NOVUS Plastic Polish kit at your disposable, you’ll forget those scratches ever existed.

